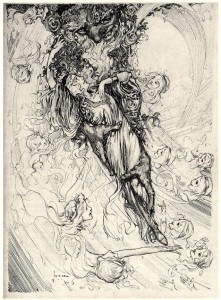
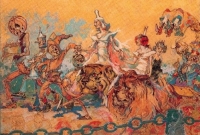
 Bill has wanted to do a stained glass piece based on this illustration by John R. Neill, from 1909’s The Road to Oz, for a long time. The image shows Polychrome, the rainbow’s daughter, returning home to her rainbow at the end of the story – her father scoops her up as her sisters welcome her back. The illustration is quite elaborate, which made this an interesting challenge to translate into glass. Bill created this window by himself over several weeks, while Irwin worked on lamp projects for clients.
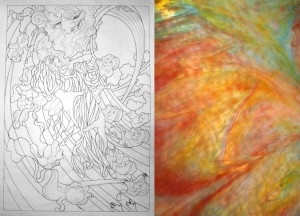
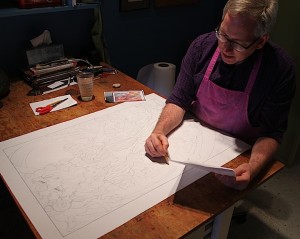 The first step in creating a winodw is drawing the pattern (called a cartoon) which will be used for the layout and cutting the glass. This involves examining the image and breaking it down into individual pieces that are capable of being cut from glass. Facial details will be painted and fired, and this window will include a lot of painting to give it the feel of the illustration!
The picture above shows the finished cartoon together with a piece of glass that certainly looks like a rainbow all on its own! This glass was used as color inspiration for the entire window.
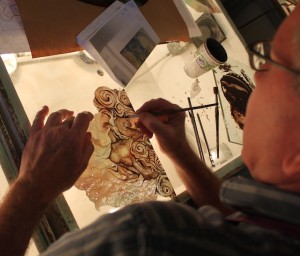 Bill begins painting the Rainbow’s head. Glass paint is basically powdered minerals mixed with gum arabic and water. When fired in a kiln at the right temperature, the paint fuses into the glass surface.
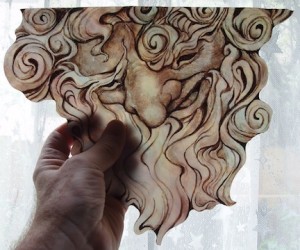 The Rainbow’s head has had its first firing – shading and color are built up through multiple layers and firings. Each of the many painted pieces in this window will be fired at least three times.
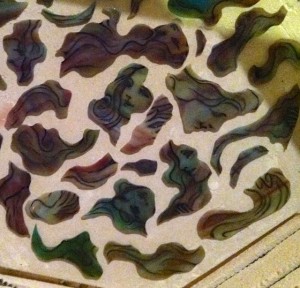 Here’s a kiln full of rainbow faces waiting to be fired. Glass always needs to be tested for firing first, as some glasses can turn opaque in the kiln. After going through the work of painting, you don’t want to find a surprise like that.
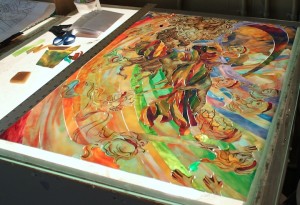
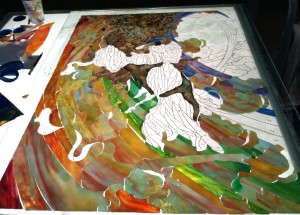 The Polychrome window is progressing nicely. Here’s a shot showing the start of laying out the rainbow. There’s quite a way to go yet before the window will be finished.
It’s all moving along – The central image of the window is cut and fit and all the painting is completed. The decorative borders have yet to be added and then the final construction of the window will begin.
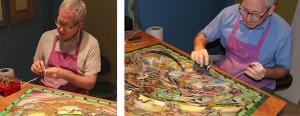
After passing through the stages of design, cutting, fitting, and painting, there are still several steps before the window is complete. We use a copper foil technique, which means each glass piece must be wrapped around the edge with copper foil, which is what holds everything in place after soldering. In the photo below, Bill is foiling (on the left) and soldering (on the right). After soldering, the window is cleaned and the lead lines are darkened. Finally, the window is ready to frame or install!
Our stained glass rendition of Polychrome returning to her rainbow is finished!

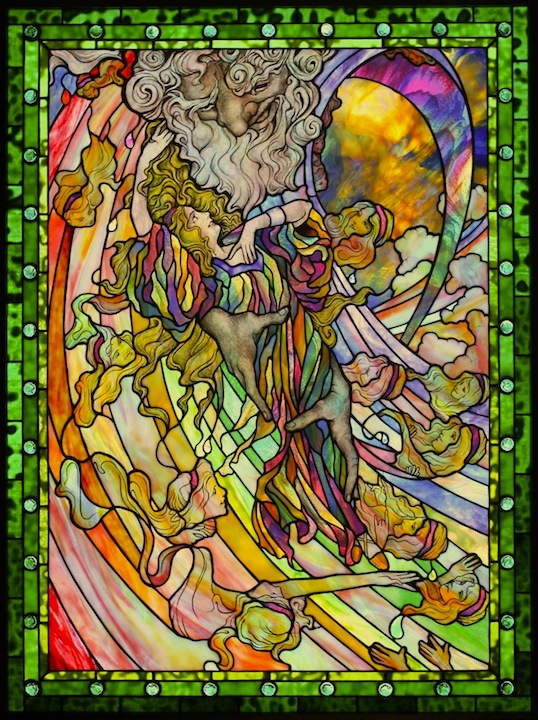
I am a huge fan of the Oz books and of John R. Neill’s illustrations. Your rendition of Polychrome is without a doubt the most beautiful stained-glass piece I’ve ever seen. Simply stunning!
Thank you